Timesheet
Goal: you record working times (timesheets) for a project and have them approved.
The timesheet module lets project members record the time they spent on a project.
Functions
Activity-related recording of employees’ working time and remaining effort.
Approval of recorded working times and remaining effort, based on the timesheet organization chart.
Schedule adjustments in the project after taking over approved data.
Access rights
To record timesheets, a user needs:
the Project user user role — allows reading portfolios and a resource pool,
the Root folder user folder role — allows reading projects and entering timesheets.
To accept timesheets, a user needs:
the Root folder administrator folder role,
the Project user or Project manager user role.
The Root folder administrator folder role also includes functions such as Read project and Accept timesheet.
Step by step: open the timesheet calendar
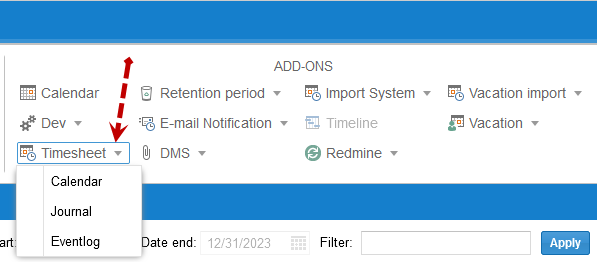
Click the Timesheet button and select the Calendar menu item.
Check the result
You see employees’ scheduled, reported, and accepted working times in a calendar bar, with time and resource filters.
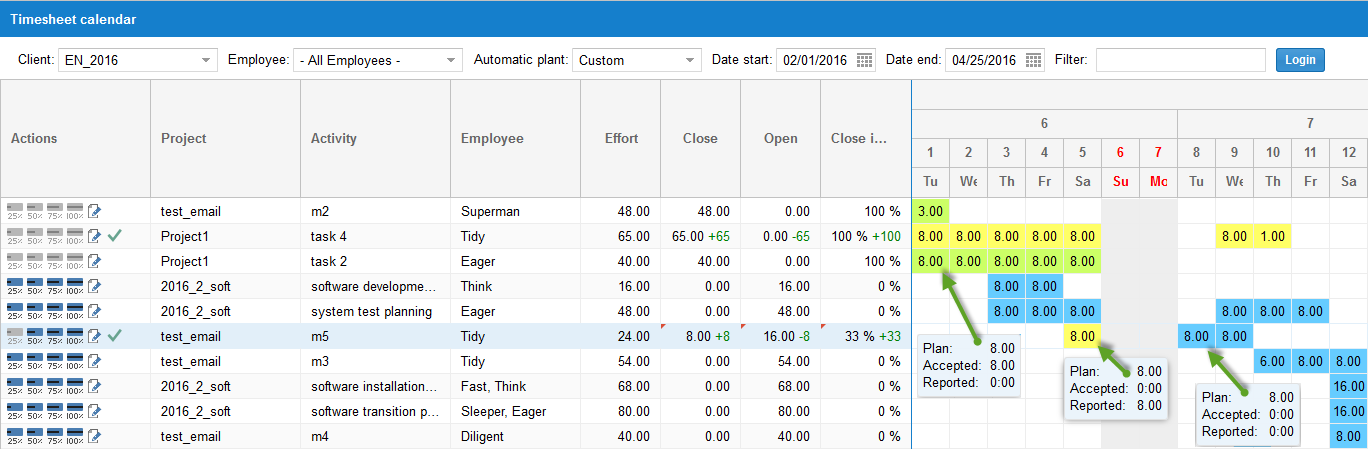
Green — accepted timesheets.
Yellow — reported but not yet accepted timesheets.
Blue — scheduled working times.
Enter worked hours
Worked hours can be entered in three ways: directly in the calendar area, quickly via a predefined percentage in the Actions column, or via an input form with more information.
Enter in the calendar area
In the calendar area, click the cell where you want to enter the timesheet.
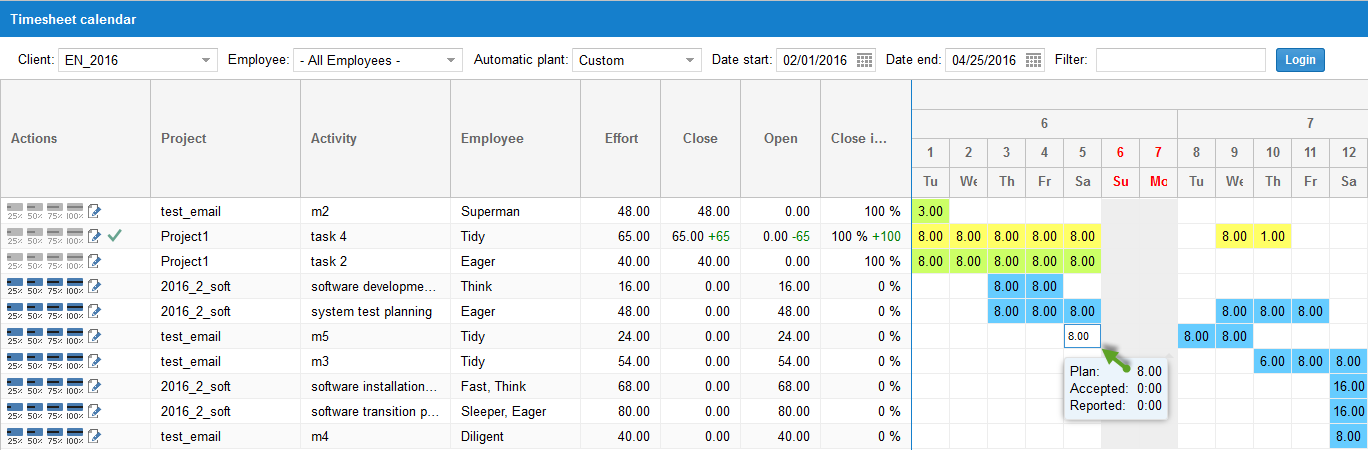
Enter the corresponding number.
Enter via a predefined percentage
In the Actions column, click one of the icon buttons to quickly enter a completed percentage.

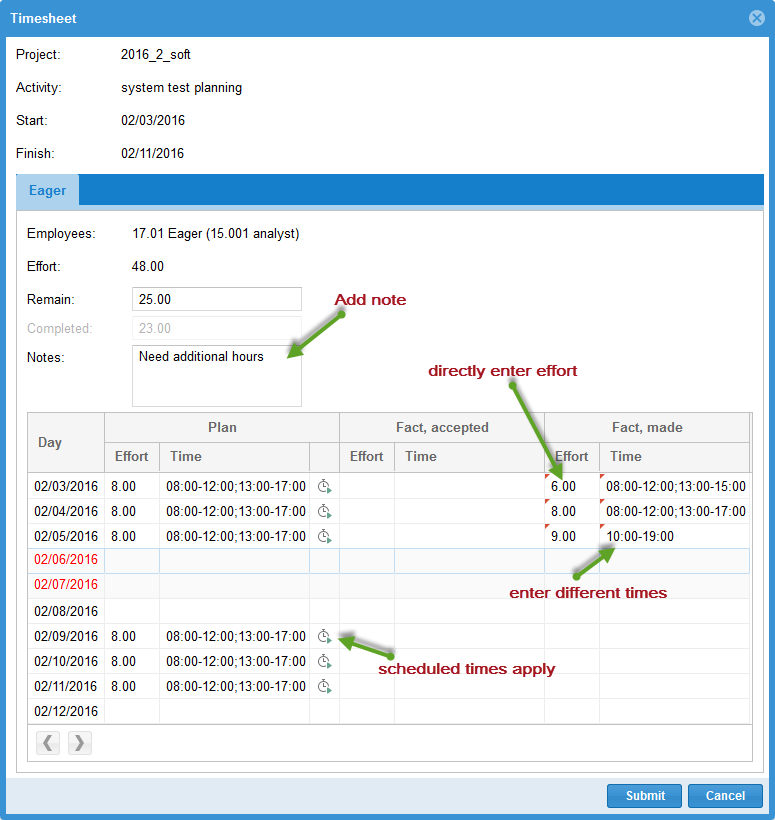
Enter via an input form
If you want to enter not just worked hours but also notes or working times that differ from the schedule:
Click the Note with a pen button.
Enter the desired information in the input form.
The green tick in the Actions column shows that the reported hours have already been approved or still need to be accepted.