Create your first user and assign a role
Goal: You create a user, give them access to a client, and assign a user role so they can work with the appropriate access rights.
Duration: approx. 5–10 minutes
Prerequisite: At least one client has been created, see Create your first client.
Step by step
Go to Administration > Users and click the New user button.
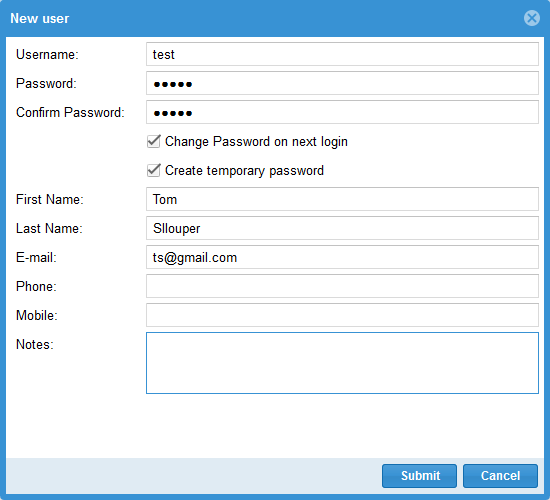
Enter the master data (name, phone, etc.) in the dialog and save.
Assign client access: In the Action column, click the client button and share the desired client with +.
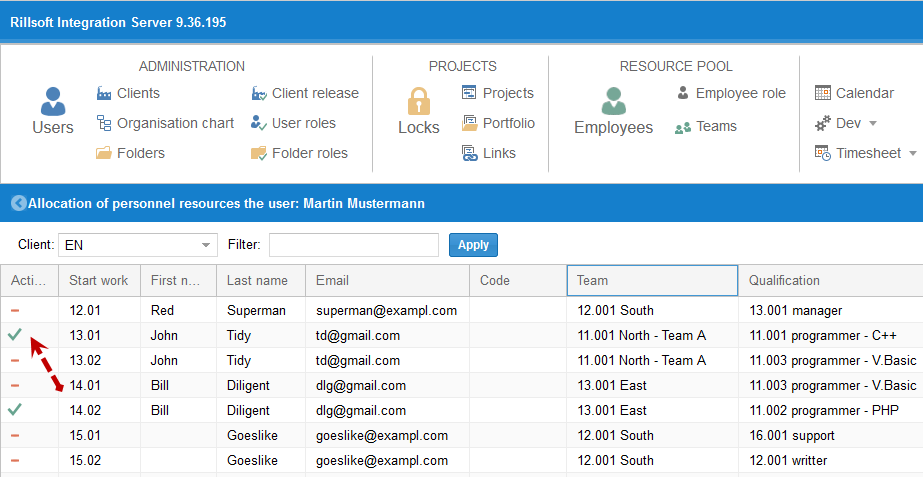
Alternatively, client sharing can also be granted for several users at once via Administration > Client sharing.
Assign a user role: Use the Manage user rights icon button to assign a suitable user role, e.g. Project user or Project manager. Rillsoft Integration Server provides seven predefined user roles for this, see Manage users and permissions.
Check the result
The new user appears in the user list under Administration > Users with client access and an assigned user role, and can log in with their credentials.
Next steps: To also assign the user to specific folders or projects, additionally assign a suitable folder role, see Manage clients.
create user, assign role, user, account, access, client sharing, it-administration